This challenge entry taught me a lot. I wasn't sure it would since I have been doing a fair number of studio shots over the last few months with multiple flashes, and suspected that I was getting better. While I'm understanding how flashes will interact, I need to remember to look at the details. Major learnings from this challenge:
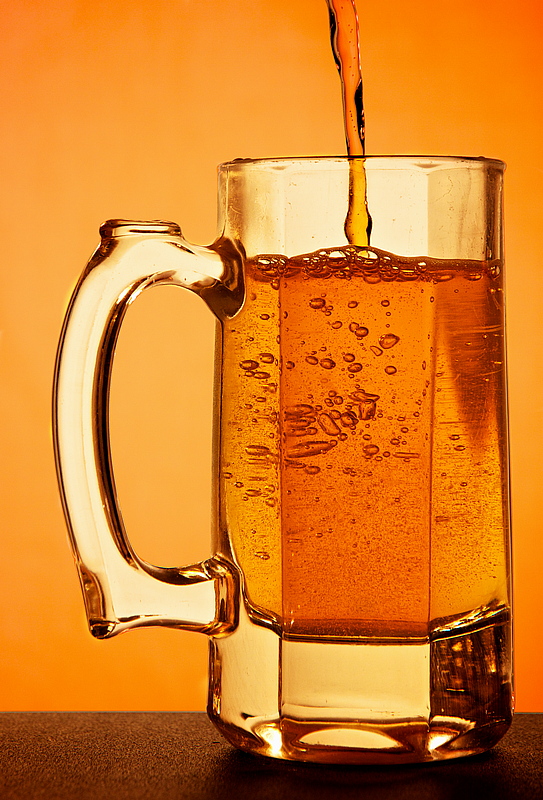
1) Put the glass on the far end of the table to eliminate the table "cutting through" the middle of the glass.
2) Shoot something like this on a gold day or in a cold room. The condensation quickly forms and blocks the details of the bubbles.
3) Drinking beer through a straw (so as to not move the glass) causes a lot of gas.
4) Aiming the pour gets increasingly more difficult as the shoot goes on.
My lighting setup included two flashes (one on each side of the mug) gelled with gold and orange gels (to make sure to get the color deep enough). Each flash had a make shift light blocker to prevent spill. A 5-in-1 reflector was setup behind the camera to reflect a bit of extra light back onto the glass.
Post Processing:
* Crop
* Clone out a small part of the bottle from the upper left
* White Balance
* Increase exposure
* Increase contrast
* Increase vibrancy
* Increase definition of glass
* Curves to lighten the bottle
* Curves to darken the background
* Vignette (lighter on the bottom to not block detail)
* Export as TIFF
* Resize
* Sharpen Edges
* Save as JPEG
[May. 23rd, 2011 03:56:27 PM]
I like how in the beer pouring world, no foamy head is the desired effect. But in the photographic world, a foamy head adds interest :)
Statistics
Place: 18 out of 85 Avg (all users): 6.2979 Avg (commenters): 7.6667 Avg (participants): 6.2558 Avg (non-participants): 6.3163 Views since voting: 1391 Views during voting: 272 Votes: 141 Comments: 7 Favorites: 0
Yummy and delicious - Just wish there was a 'head' on the beer but I can only imagine the difficulty of shooting this without drinking it. I would have probably ended up drinking this before I got 'the shot'. Best of luck.






 Add photograph to your favorites
 Add photographer to your favorites


 Photographer found comment helpful.


