Out take from images I used in the Pi and Dr Suess challenges.
____________________
Post challenge: I am floored that this ribboned up against some awesome competition. Thanks everyone.
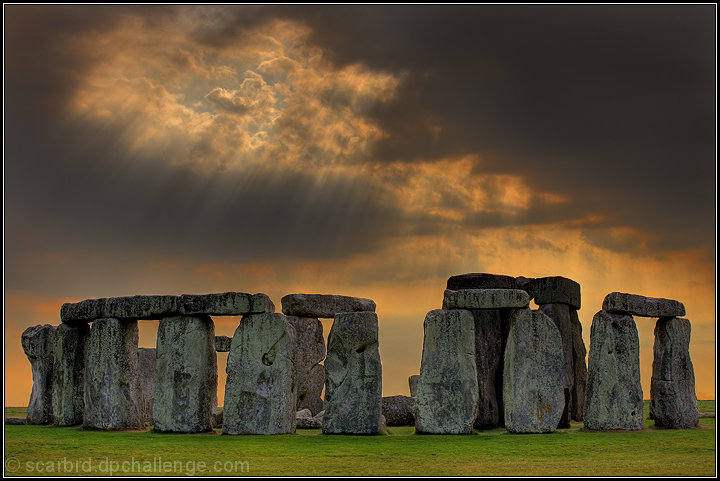
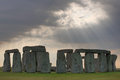
A 12 minute span on a visit to Stonehenge produced a blue, and yellow and a top 10. Not bad!
The Shot
My wife and I were on a bus tour to Stonehenge while on vacation in the UK. We arrived in the afternoon after visiting Windsor and Bath. We were at Stonehenge for about 40 minutes. The light was pretty good but there were clouds rolling in.
As the clouds rolled in, my wife noticed a break in the clouds behind us. I ran around to the other side to get the light behind the stones. I had my 5D set to autobracket the exposures in 1-stop increments. normal, -1, +1. I laid down on the ground to get the horizon low in the shot and include the light at the top. (I'm sure the other tourist loved that!)
The Post Processing
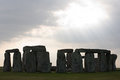
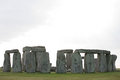
Back home (and several months later) I opened each exposure in Photoshop using the RAW converter. Needing more range than the 3 exposures gave me, I made 2 images from the darkest exposure, 1 from the normal exposure and 2 from the lightest exposure. In the lightest and darkest images, I adjusted the exposure in the RAW converter to get a darker image and a lighter image. This gave me 5 images of different exposures to work with, a 5-stop range.
I saved each one in TIF format. Then I used PhotoMatix for the HDR and Tone Mapping. In PhotoMatix, I combined all 5 images using the Generate command in the HDR menu. The result is a very odd looking image:
I'm not sure what's going on in PhotoMatix, but all the pixel data must still be in the file. Then I select Tone Mapping from the HDR menu and after adjusting the sliders a bit, I get this:
I save that image as a TIF and go back to Photoshop.
The tone mapping left a red fringe around the stones. I spent a bit of time cloning the red fringe out.
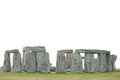
In Photoshop I masked off the stones using the pen tool. This creates a clipping path. I saved the path so I could use it again. I turned the path into a selection with a slight feathering. I inverted the selection and unselected the ground leaving just the sky in the selection. Levels, Brightness Contrast, color ballance layers on the sky.
I activated the path again and turned it into a selection for just the stones. I added adjustment layers for levels and brightness/contrast.
I then increased the saturation on the grass to make it greener.
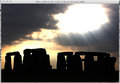
Some dodge and burn and general clean up left me with my image. The last thing I did was invert the image horizontally because I liked the composition better with the light in the upper left than in the upper right.
There you have it! Utilizing the new rules and every other tool available in Advanced Editing and I get a Yellow ribbon!!!
Statistics
Place: 3 out of 484 Avg (all users): 7.2258 Avg (commenters): 8.6316 Avg (participants): 7.1264 Avg (non-participants): 7.4595 Views since voting: 12329 Views during voting: 427 Votes: 248 Comments: 43 Favorites: 43 (view)
Congratulations!!! This is just stunning, and perfect, and beautiful, and amazing, and gorgeous, and fantastic and phenomenal, and I could keep going!!!
I really like the concept, but the my overall perception of the image is that the tone is a bit "muddy". I would really like to see the stones stand out a little more.






 Within The Place Of A Stone Circle
 Add photograph to your favorites
 Add photographer to your favorites


 Photographer found comment helpful.


