My method:
Duplicate the background layer in photoshop.
On the top layer, go to Image > Adjustments > Exposure and do -1.
On the bottom layer, go to Image > Adjustments > Exposure and do +1. Select all and go to Edit > Copy.
Go to the top layer and create a layer mask (click on the button in the bottom of the layers palette that looks like a circle inside of a square). Option click on the layer mask you just created (it'll make the whole image white (but just for a sec)).
Edit > Paste.
While still on the top layer, go to Filter > Blur > Gaussian Blur and do somewhere between 30 & 40 (less for smaller images).
Click on the bottom layer... there's your HDR image.
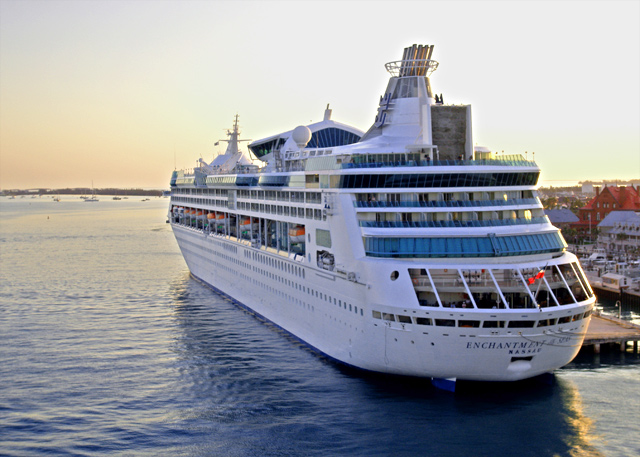
It probably looks grey-- but if you do an adjustment layer with levels, it evens out really quickly. It produces more vibrant colors, brings out the details in the darks and makes the light areas look cleaner. :)
Excellent work! The DHR treatment has made the colours really pop out. The only bit that seems to have popped out too much is the red flags on the back.




 Add photograph to your favorites
 Add photographer to your favorites


 Photographer found comment helpful.

