I like this shot very much and gave it a high vote. But I don't find the light rays convincing. The sunlight illuminating the room is coming from the left--so it can't be shining in the windows on the right to create light rays.
Thanks for the comment. True that the sun is coming from the left however, the illusion created through editing made it "seem" to appear that there were other possibilities of the placement of the sun. It could appear that the light rays were stray light bouncing off other walls of building etc. I think that's the beauty and the source of my curiousity in these "no-holds barred" challenges.
Thanks for noticing. Not a single person mentioned that and I did notice it during the challenge ;)
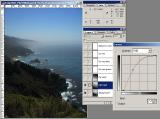
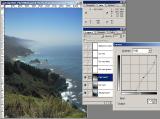
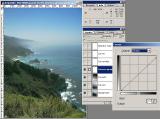
I did the post-processing in 2002 and I don't remember exactly what I did. All I did for the submission was to resize and resharpen the file from 2002. I can see that I had separate curves adjustment layers for the tunnel and the outside space.
The white circles in the original are due to rain drops on the lens. I was glad to find a tunnel to keep me dry!
Here`s mine. I was new to photoshop back in 2002 :)
Before
After
That's a great shot and a wonderful job of processing. However, I think a warning should go out to anyone fairly new to this site that modifications as illustrated here probably would not pass Advanced Editing rules (removal of major element) in a regular members challenge.
The shot that GeneralE posted as his after isn't the same as the shot he entered. I'm guessing that Bear told him how to process it (and maybe provided the screenshots?) and then GeneralE did his own version.
I still say they're the same person.
It only makes sense.
Yah, I think the General posted my versions by mistake. These are from the Lanscape Learning Thread. Both of the top images are my remakes, 2 different versions, from his original.
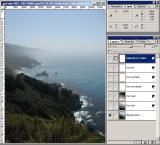
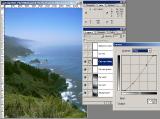
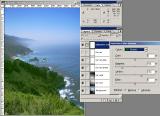
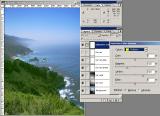
The ones underneath (the PS screenshots) are all his.
Processing:
1-Noise reduction
2-Levels for normal darken/highlight contrast
3-Curves for midtone contrast
4-Hue/Sat to increase master, red, blue and cyan saturation
5-Selective Color for red, blue, cyan adjustments
6-50% greyscale overlay layer for light dodge and burn and for light color painting with red and green
7-Levels to set final black point
8-Crop, resize, smart sharpen and save as .jpg
No specialized processing, just straightforward contrast and color adjustments.
I like the idea of posting before and after images and sharing the post processing used to achieve the final result. Would like to see more of that.
I did the post-processing in 2002 and I don't remember exactly what I did. All I did for the submission was to resize and resharpen the file from 2002. I can see that I had separate curves adjustment layers for the tunnel and the outside space.
The white circles in the original are due to rain drops on the lens. I was glad to find a tunnel to keep me dry!
--DanW
I actually like both of these equally. The both have a totally different feel. Great pic :)
Ran through DxO since there were no roolz, rotated to level horizon, cropped to 3:2 aspect ratio and to eliminate distracting elements, cloned out the hazard triangle on the logs, graduated neutral density filter applied to darken sky, unsharp mask @50%.